
How to Install a Shade Sail for Texas Homes
You know how Texas summers can turn your backyard into an oven, too hot to enjoy, even in the shade of a tree. Many homeowners want simple ways to stay cool outdoors. For many, learning to install a shade sail feels like a great place to start.
With the right setup, a shade sail can lower temperatures by as much as 20°F. It can turn your patio into a cool, breezy retreat.
We’ll walk you through the essentials of planning, installing, and maintaining a shade sail. Plus, we’ll share why trusting experts like ShadePro can help you create a durable, design-led outdoor space built for Texas weather.
Why Shade Sails Are Worth the Investment in Texas Heat
If you’ve lived in Texas for long, you know how intense the summer sun can get. Temperatures can climb well over 100°F. This means your backyard or pool area can quickly become off-limits. Shade sails offer an easy way to reclaim that outdoor comfort.
Unlike bulky pergolas or retractable awnings, shade sails are lightweight and versatile.
These outdoor sun shade structures provide broad coverage and block up to 98% of UV rays, the most harmful part of sunlight. That means cooler temperatures, less glare, and more protection for your skin and furniture.
They also elevate your outdoor design. Whether you choose soft curves or bold geometric shapes, shade sails add a modern, architectural touch.
It’s form and function in perfect balance, something every design-driven homeowner values.
In short, installing a shade sail is more than a heat fix. It’s a lifestyle upgrade that makes your backyard feel like a true outdoor living room.
Site Planning & Anchor Point Strategy
Before installation begins, location is everything. Choosing the right spot for your shade sail determines how much sun protection you’ll get throughout the day.
Start by observing how sunlight moves across your yard. Pay attention to both morning and afternoon exposure.
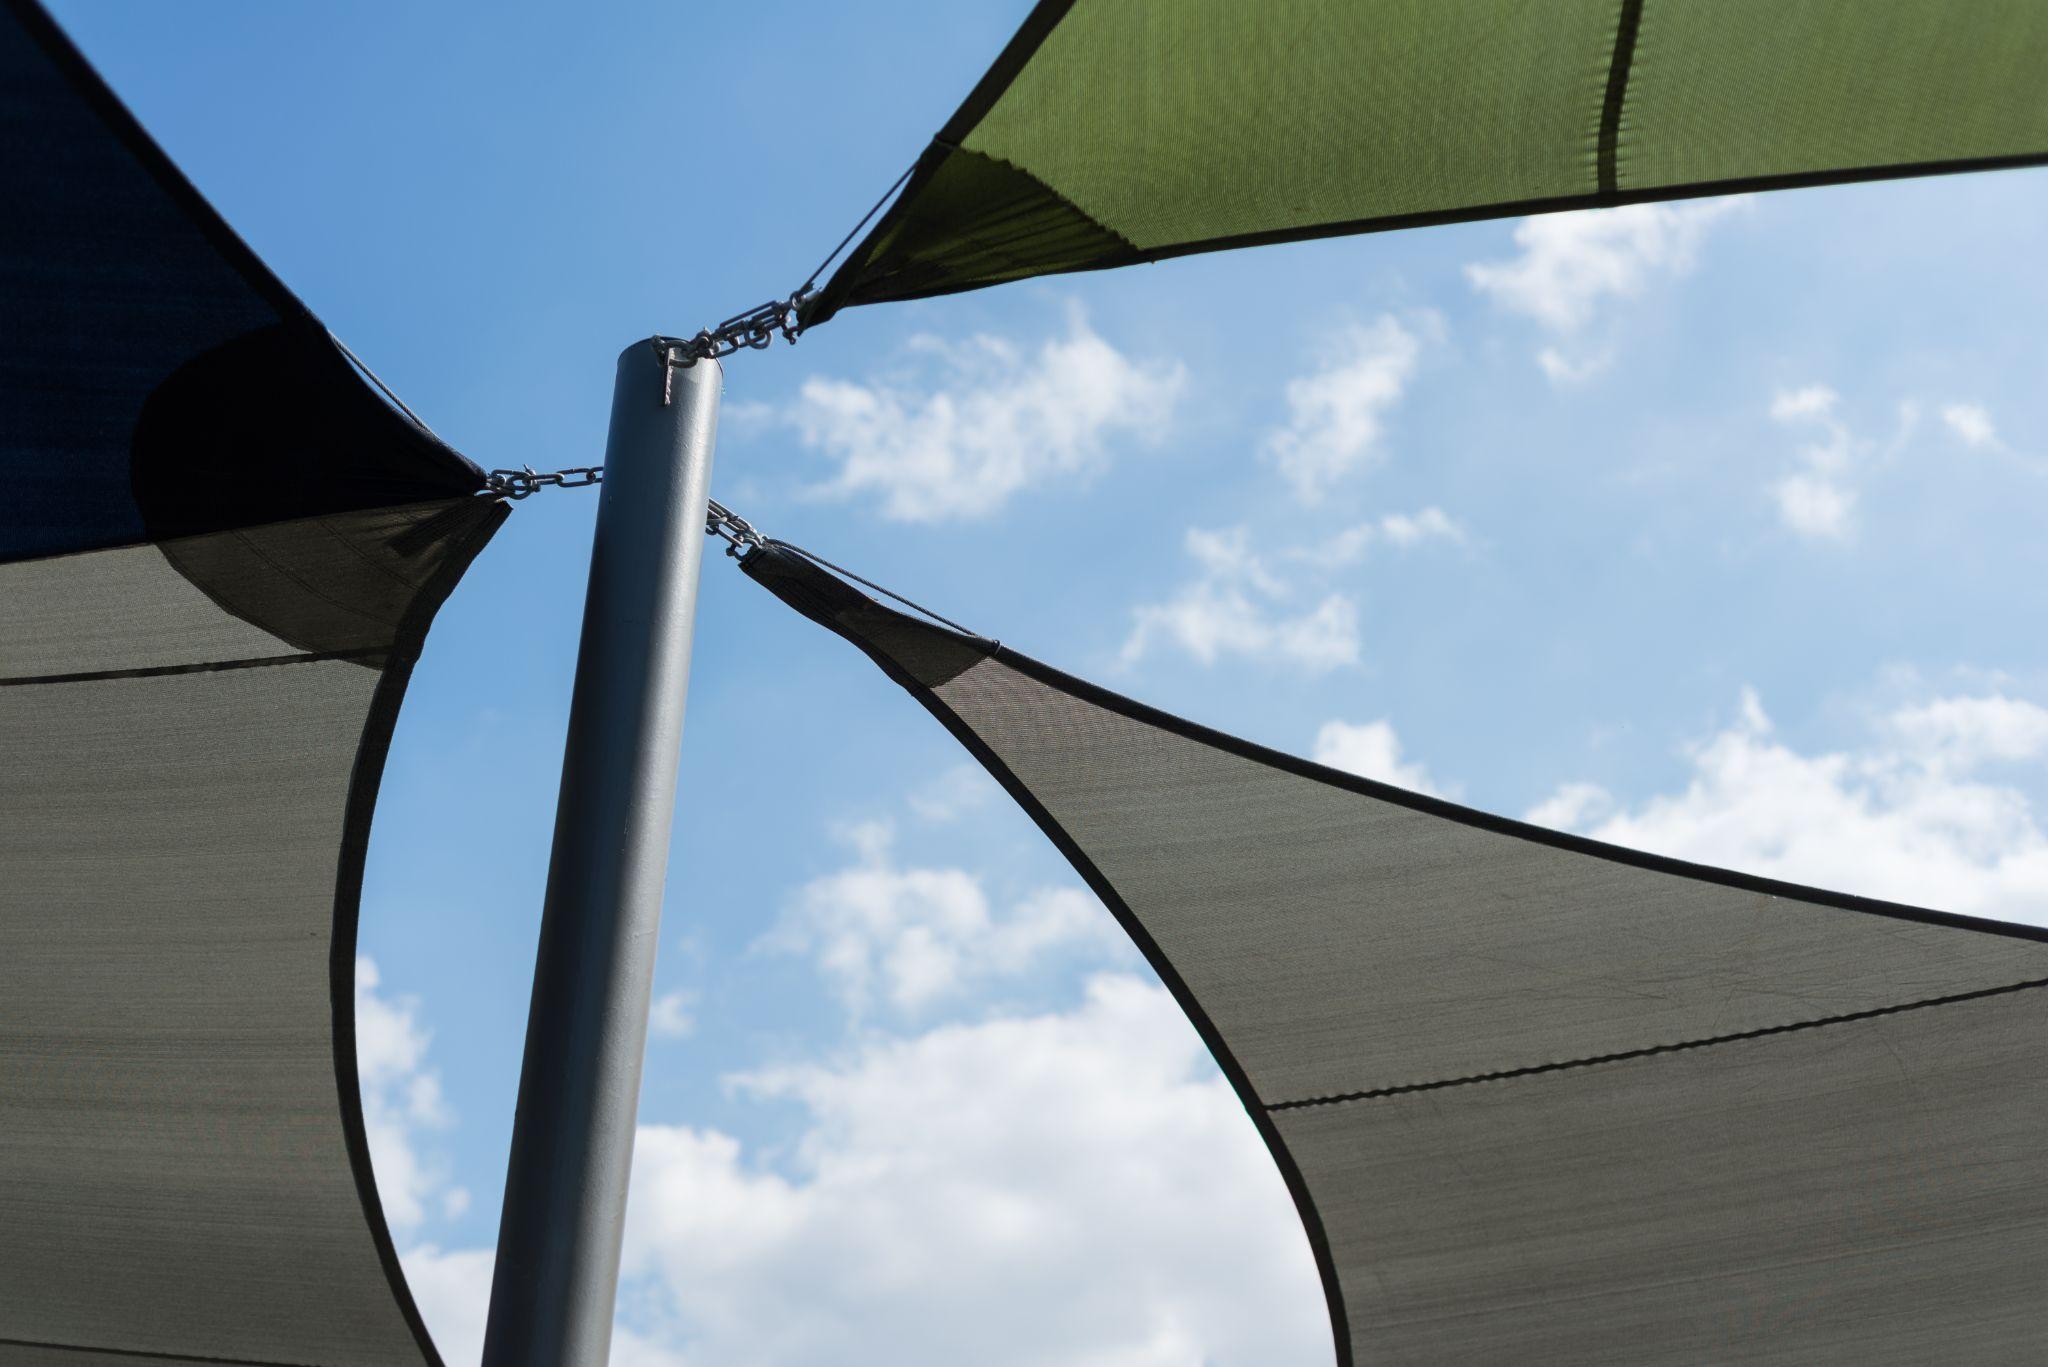
A proper anchor point strategy is key to both safety and symmetry. A well-positioned anchor point provides tension, stability, and the correct sail angle. Most installations use a combination of house walls, steel poles, or sturdy posts set in concrete.
To prevent water pooling, your sail should slope at least 25 degrees. This helps rainwater run off smoothly while maintaining the clean, taut look that makes shade sails appealing.
If you’ve Googled “residential shade sail installation near me“, experts can help check your site conditions. They can identify the best anchor points. Plus, they will ensure your structure withstands Texas winds and weather year-round.
How To Install A Shade Sail: A Step-by-Step Installation Process
Once your layout is planned, you’re ready to begin installation. Each step plays an important role. Read on to make your sail perform safely and look great for years to come.
Step 1 – Measure Your Space
Start by measuring the exact dimensions of your area. Remember to allow a small gap between the sail and the anchor points for tensioning hardware. Even an inch of miscalculation can affect balance and tension later on.
Step 2 – Mark and Mount Anchor Points
Mark each anchor location before drilling or setting posts. For larger spans, use galvanized steel poles set in concrete footings to ensure strength. Avoid attaching to weak points like siding or fence panels.
Step 3 – Attach Hardware and Sails
Use marine-grade stainless steel fittings such as turnbuckles, D-shackles, and snap hooks. These prevent rusting and maintain tension over time. Attach each corner loosely first before tightening fully.
Step 4 – Apply Proper Tension
Tension evenly across all corners until the fabric appears smooth and firm. Uneven tension can cause wrinkles, sagging, and premature fabric wear.
Step 5 – Inspect and Secure for Safety
Once installed, inspect all fittings and supports. Make sure there’s no movement in poles or anchor points. ShadePro uses specialized equipment to test tension and ensure structural stability.
Learning how to install a shade sail not only improves comfort. It also keeps your investment secure. It’s one of those projects where expert installation pays off in peace of mind.
Materials & Hardware: Poles, Turnbuckles & Anchors
The materials you choose define how well your shade sail performs in Texas weather. Heavy-duty steel posts are key for strength. Pair them with marine-grade stainless steel fittings and UV-rated fabrics.
DIY kits from big-box stores may work for temporary setups. But professional-grade components offer the strength. These are needed to withstand strong winds and long sun exposure. Quality exterior shade structures need hardware that won’t rust, stretch, or fade.
Galvanized steel poles add strength and stability. UV-resistant fabrics keep your shade looking fresh and vibrant for years. ShadePro uses high-tensile tensioning systems that keep sails taut and weather-ready. No matter how intense the Texas sun gets.
Choosing the right materials means less maintenance and fewer replacements. It also gives you more worry-free time to enjoy your custom outdoor sun shade structures.
Common Issues & Troubleshooting
Even the best installations can run into minor issues over time. Common problems include sagging fabric, water pooling, or slight wind noise. Below are some issues and how you can fix them:
- Sagging or wrinkles: Increase tension gradually using turnbuckles until the fabric is firm and smooth.
- Water pooling: Adjust your slope angle. You can also reposition one corner to allow better runoff.
- Wind noise or flapping: Re-tension or inspect anchors for slight movement.
Pro Tip: Inspect your fittings at the start and end of each season. Tightening a few bolts twice a year can extend your sail’s lifespan significantly.
Learning how to install a shade sail properly is just the beginning—routine care ensures it performs beautifully for years.
DIY Shade Sail Installation vs Hiring ShadePro Instead
Installing a shade sail might seem straightforward. But small mistakes can lead to major problems down the road. Local building codes, soil conditions, and structural load limits all affect how your sail performs.
ShadePro handles every detail. That way, homeowners don’t have to worry about tension errors, uneven slopes, or permit issues. Each project is tailored to your home’s layout, style, and environment.
When you choose a professional, you gain more than convenience. You gain structural reliability and aesthetic precision. You’ll also gain peace of mind that comes with expert craftsmanship and warranty-backed work.
Your outdoor space deserves more than a quick fix. It deserves ShadePro quality.
Your Texas Backyard, Reimagined
Creating comfortable, beautiful shade shouldn’t be complicated. With the right planning, materials, and expertise, your new shade sail can redefine how you enjoy outdoor living.
If you’re ready to turn the heat into a reason to relax outside, let ShadePro design and install a custom solution made for Texas homes.
Schedule your free design consultation today. Experience how effortless outdoor comfort can be with ShadePro.
TRUSTED BY


